Part 3-1: Modifying the art
VSCode is a code editor. This means it reads and writes text files (usually containing code but not always). This also means that it is not useful for editing images, which provide the art layer of your game. If you want to change how your game looks you’ll need to edit your image files with an image editor like Krita.

Other alternatives include Aseprite, Photoshop, GIMP, and more. Here’s a basic chart of their features:
Let’s use Krita to change how the main character looks. Launch Krita, then in at the top click File => Open, then click open the following image:
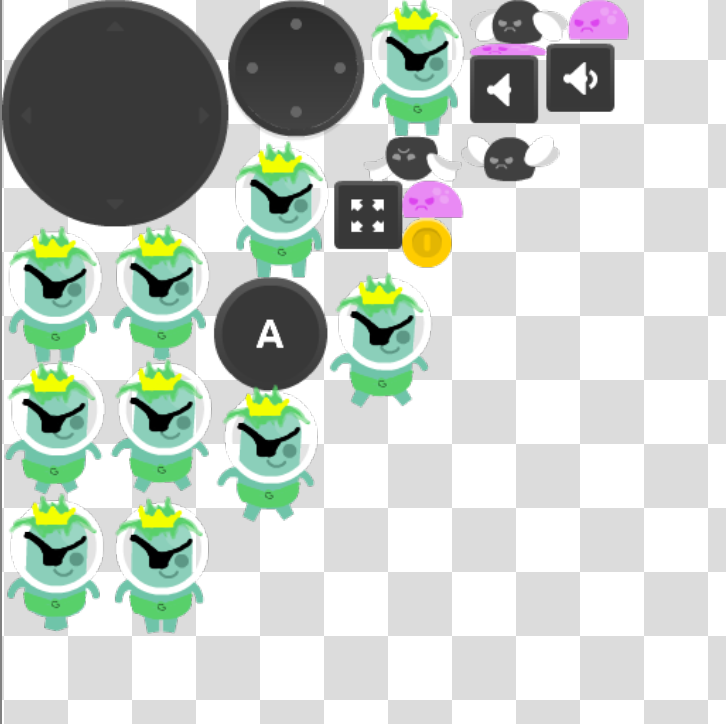
/example/platformer/data/img/texture.pngNext, create a new layer (see how to use layers here), and now you can draw on top of the original image file without actually messing it up (making easy to erase or undo changes). You can see here I changed how the main character looked. The main character has a bunch of different frames for it’s animation, but I only drew the changes once. Because I was drawing on a separate layer I was able to copy the changes (and not the original image) to each of the other frames without having to redraw it (though better animated sprites might go a long way to help it feel more alive)

I gave him some pants, a crown, and some spiky green hair :)

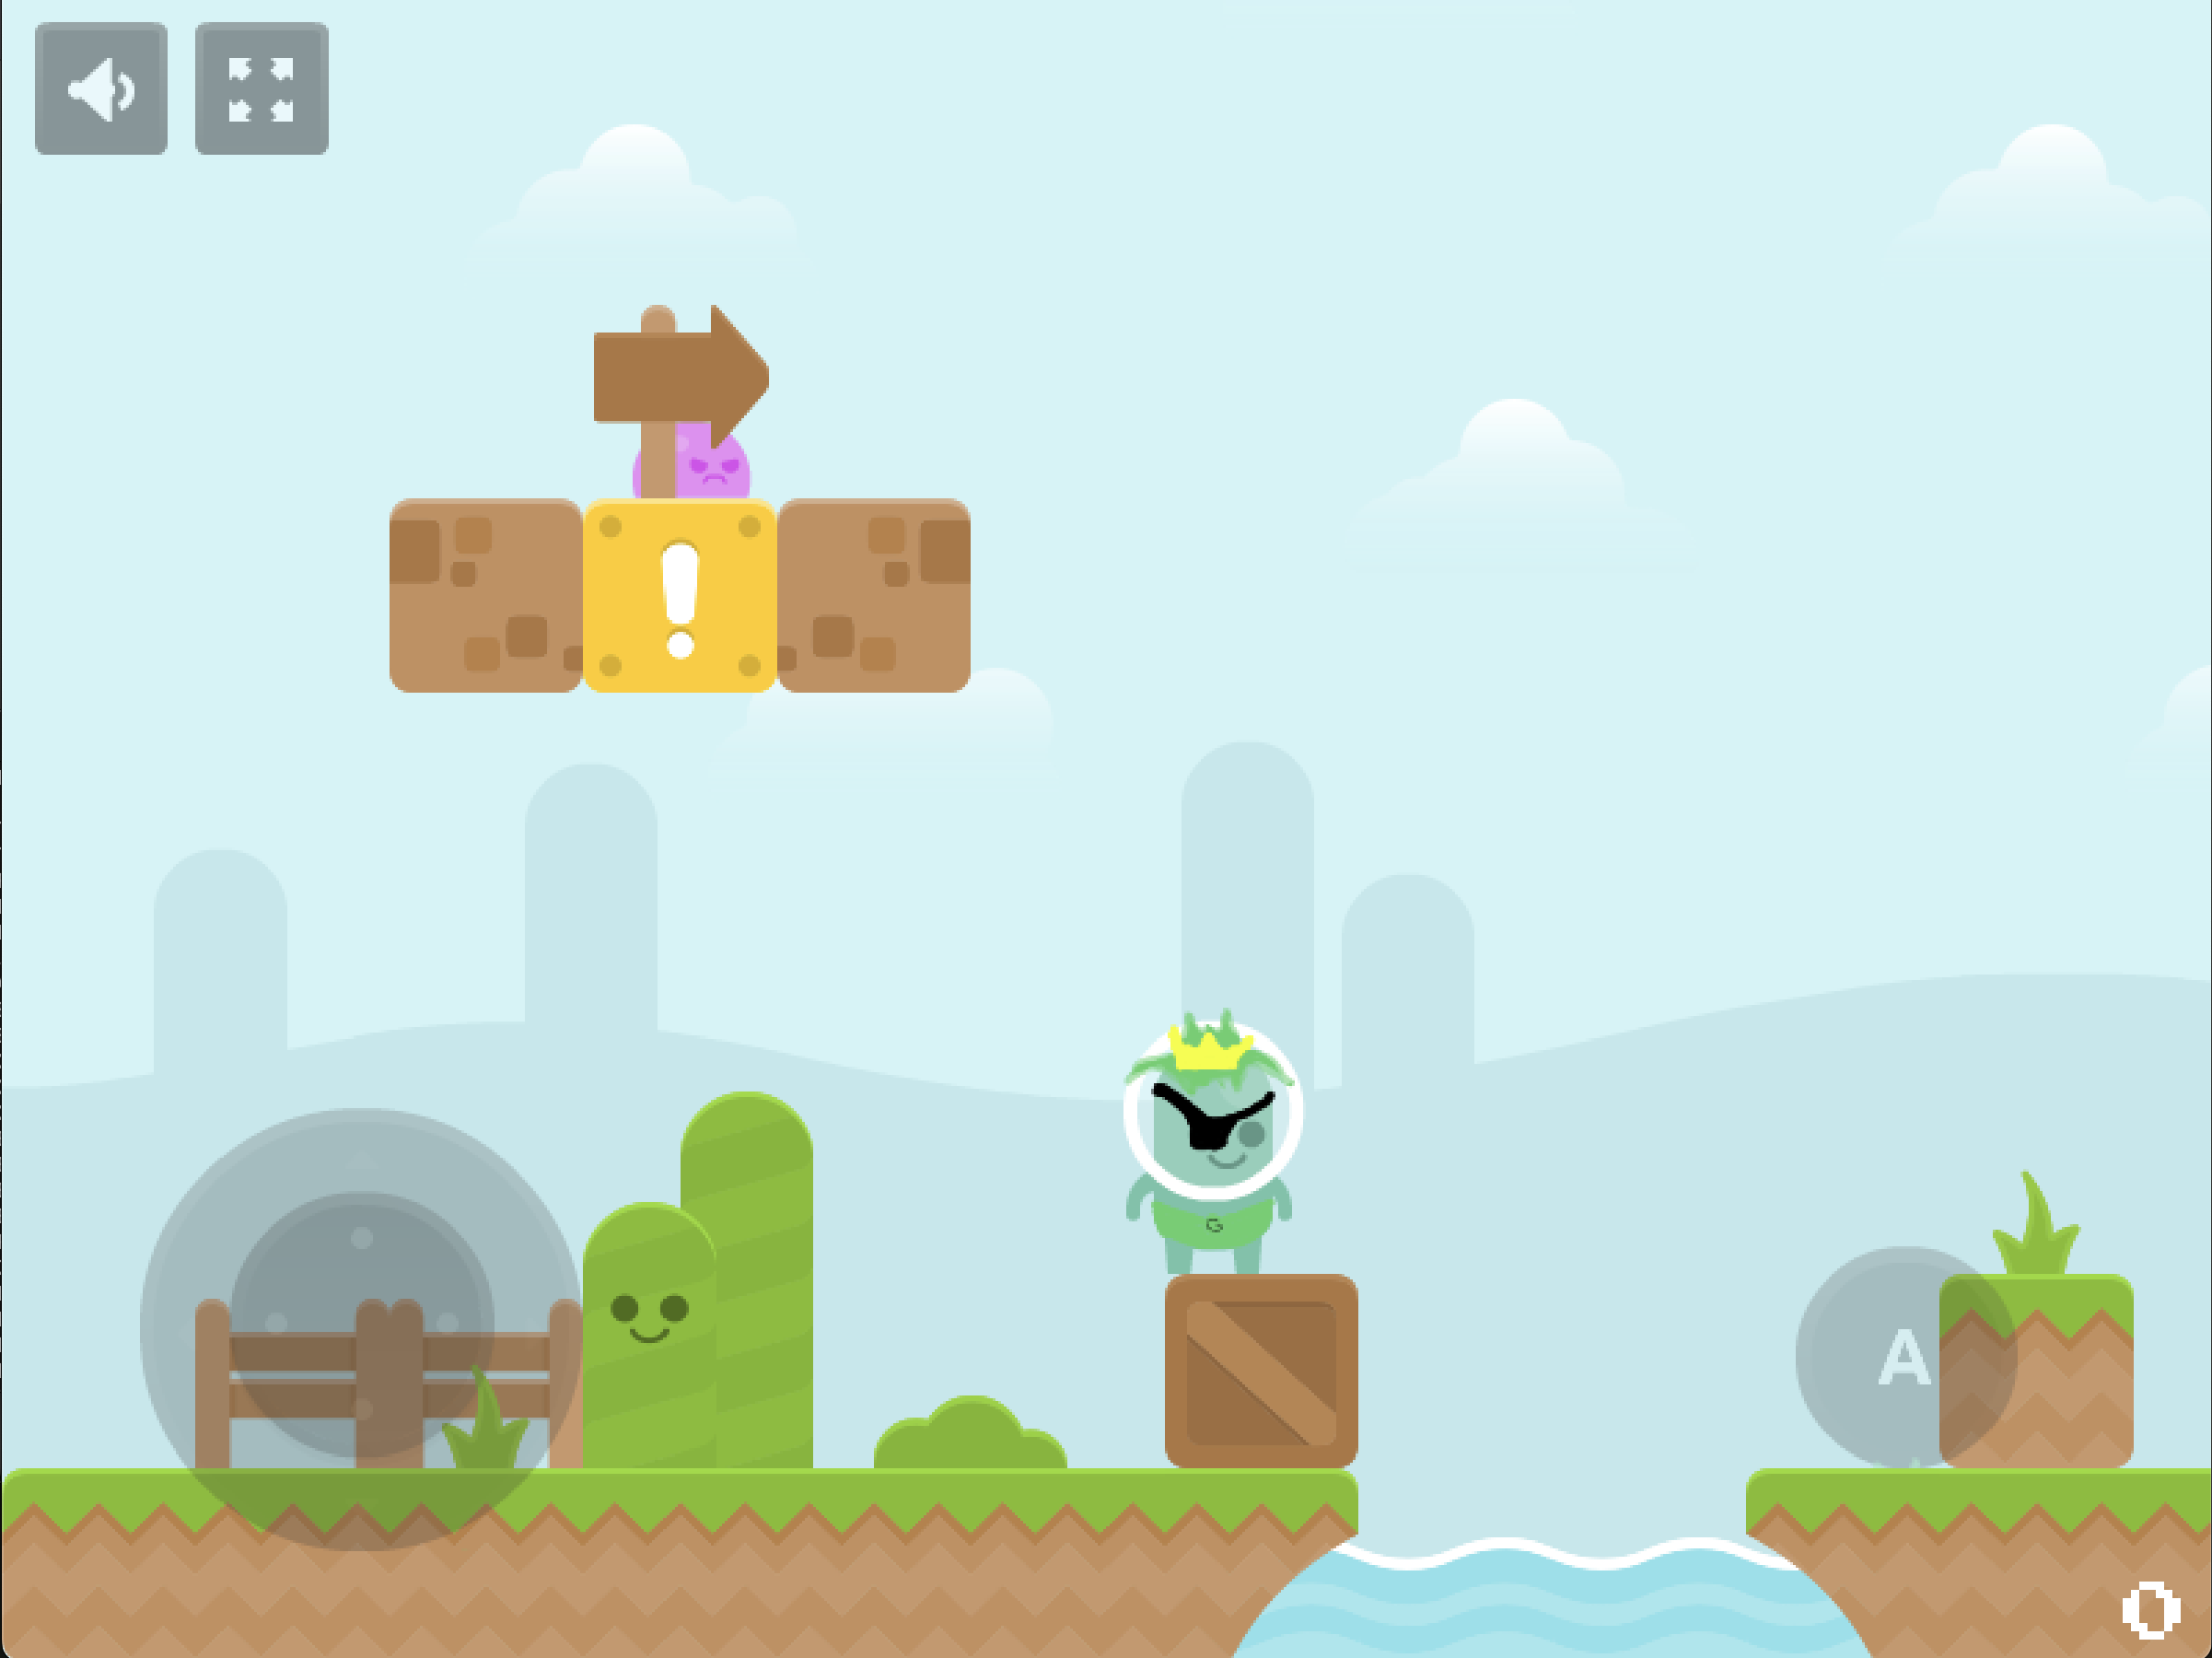
I can see the new skin for my character in my web browser, and as I walk around and I can see the new outfit doing the walking animation
Footnote: General art concepts
This tutorial does not cover the basics of art itself. Click here for more information about how to make art.
Up Next: Modifying the level using Tiled