Part 3-2: Modifying the level using Tiled
Note: Before starting if you are new to Tiled we strongly encourage you to read the introduction here, that provides the basics on how the editor works.
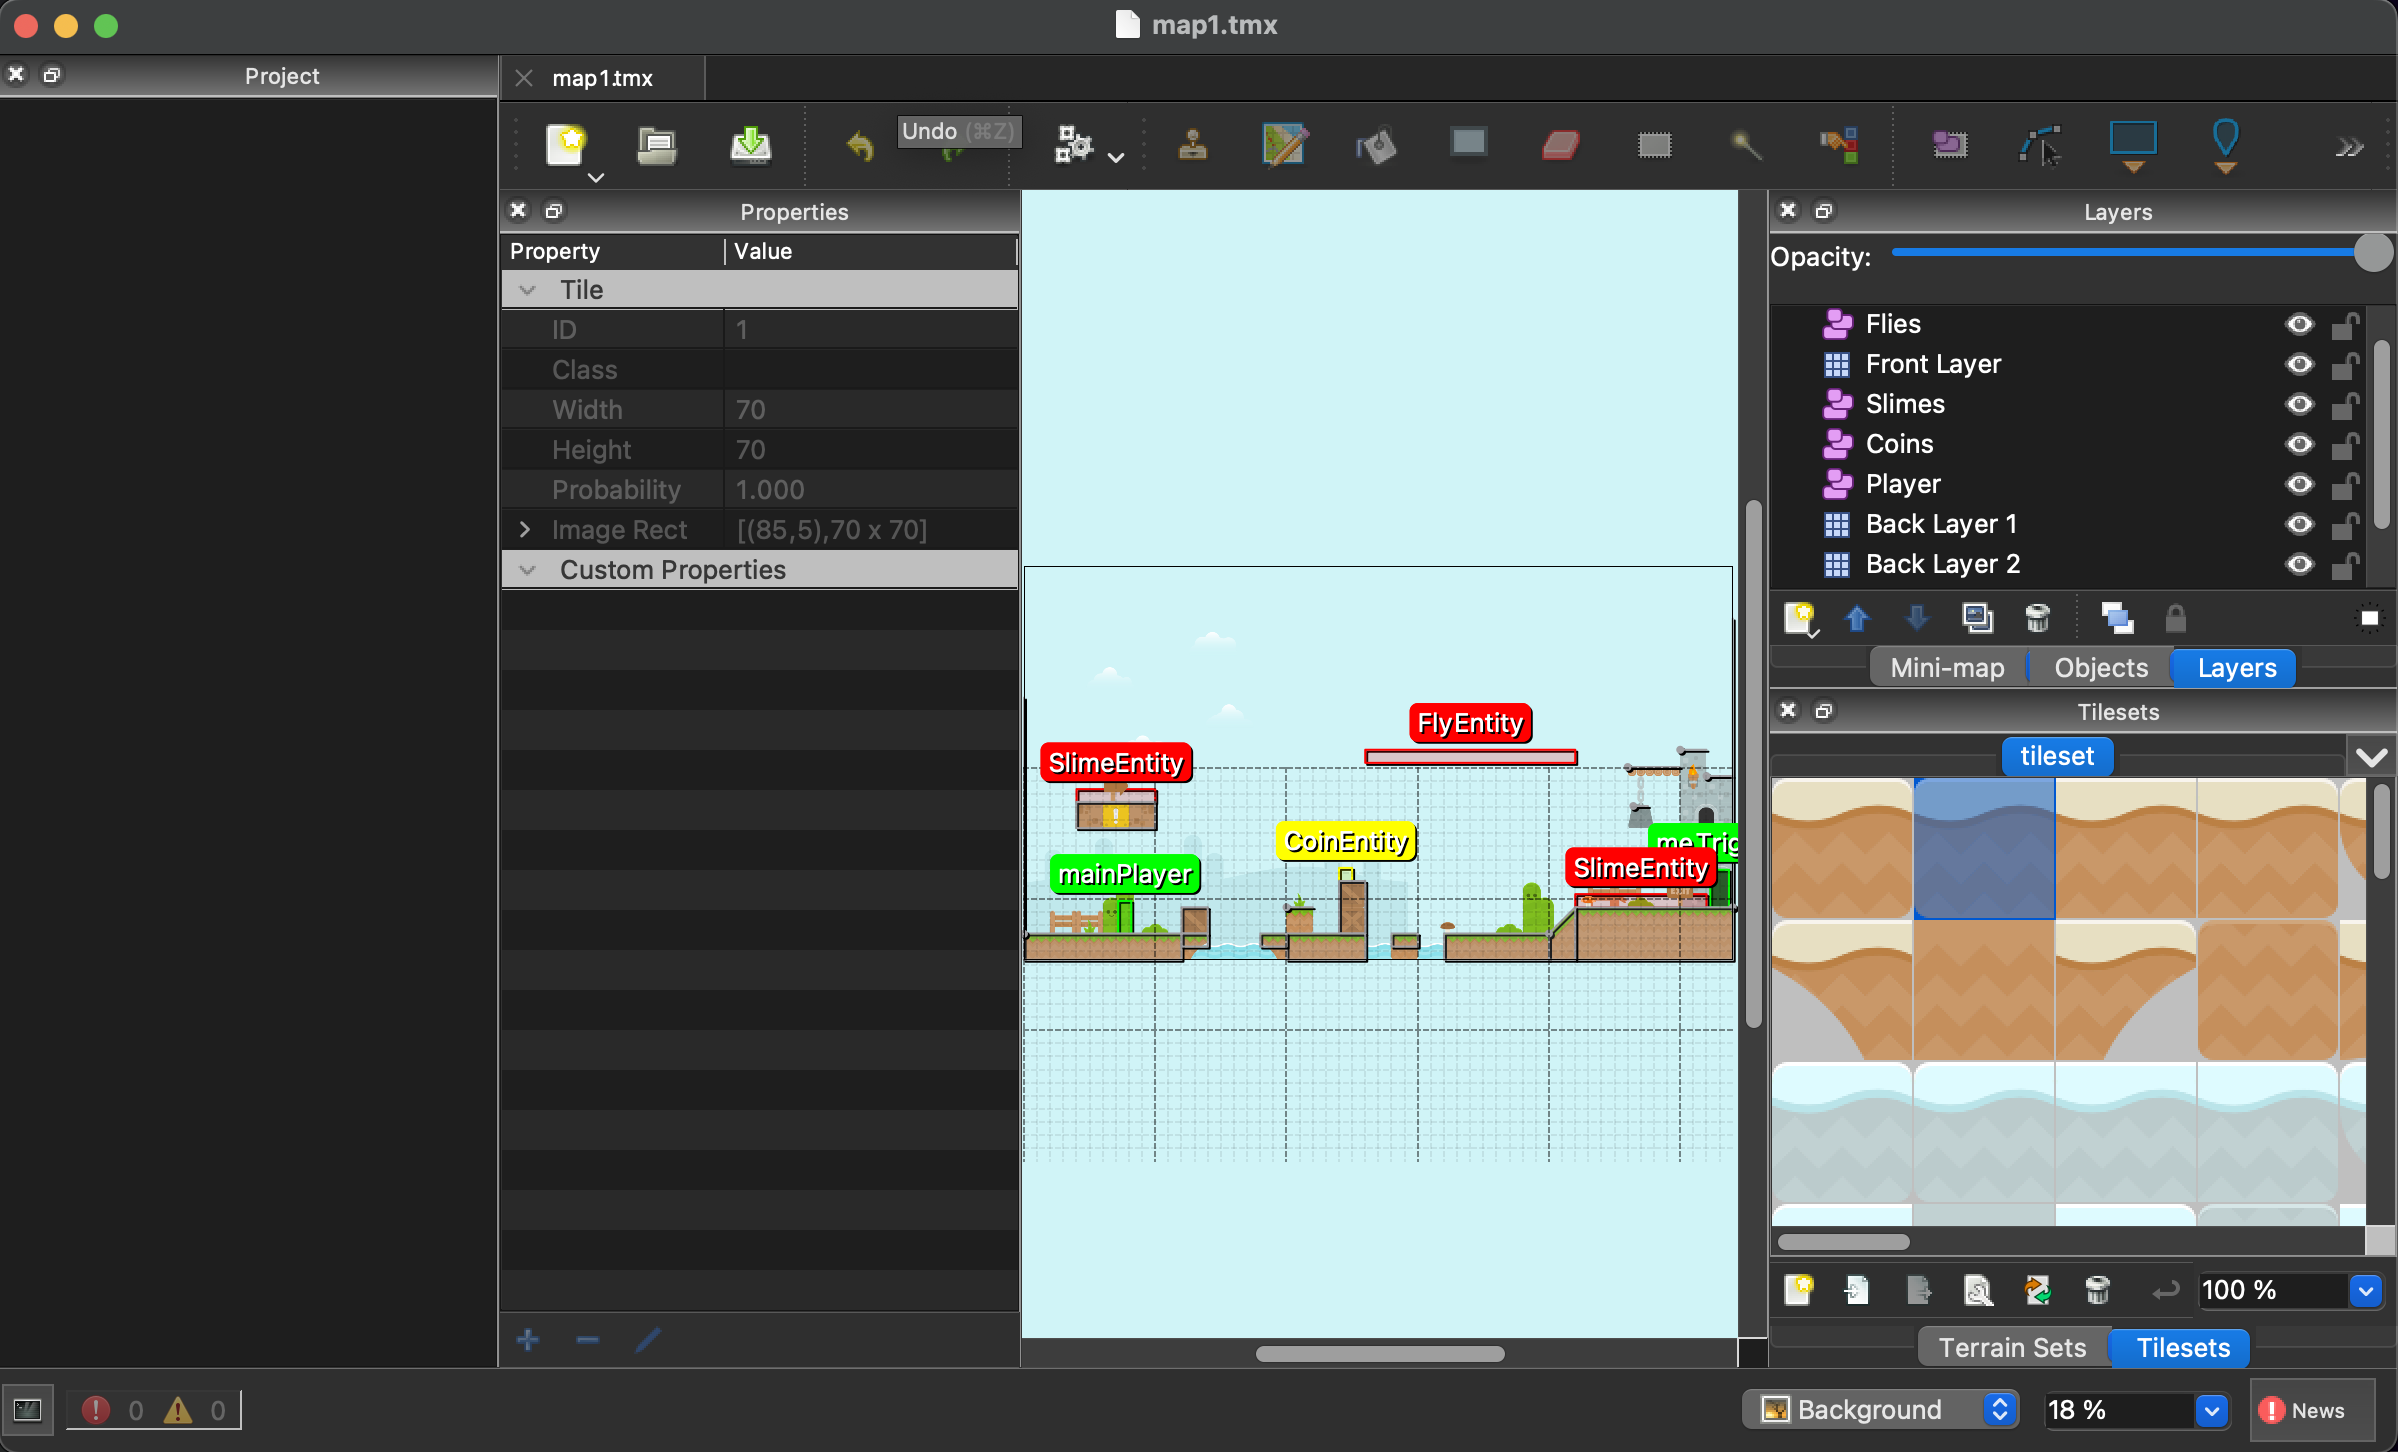
To start open the Tiled Application. Now let’s edit the first level. It is located here:
/data/maps/map1.tmx
Once you have it open, your application should look very similar to this:
I’m using the Mac version, it might be slightly different on your system but it should look very similar
In the middle section you have the level editor. The right side has the layers view on the top and the tileset on the bottom you can pick from to use to draw in the level editor. Always make sure you’re drawing your tiles in the right layer, otherwise they might overlap each other.
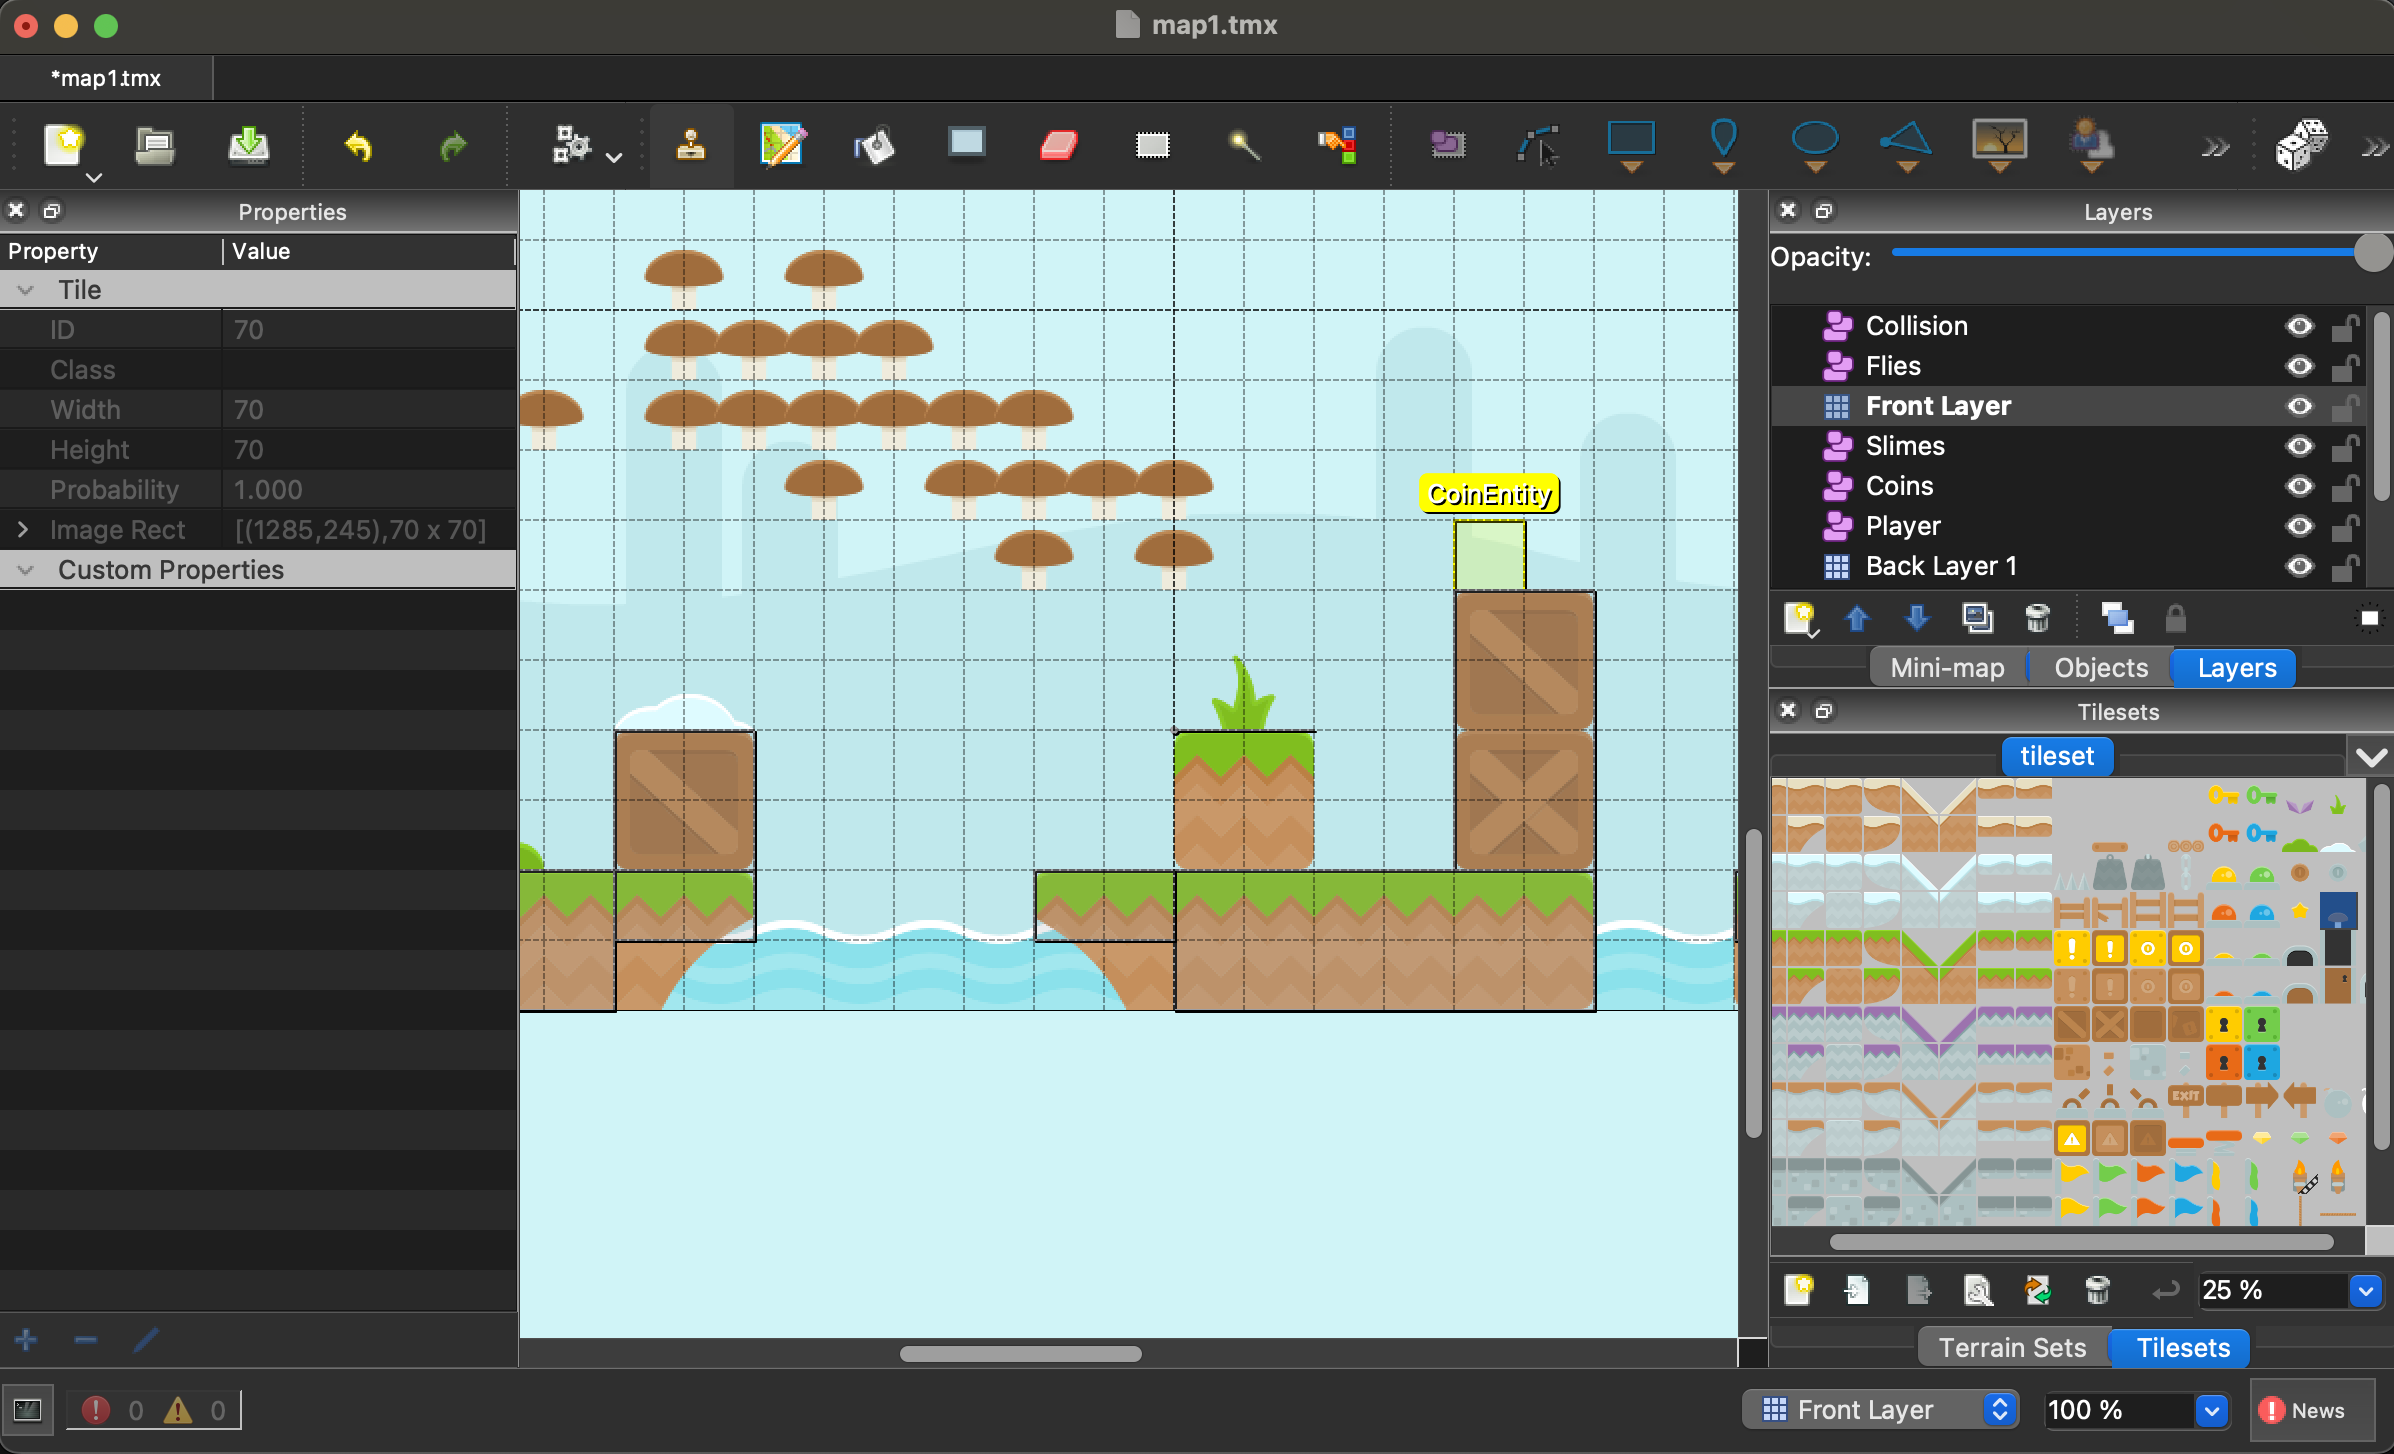
As you can see I put a bunch of mushrooms in the sky, and I put them in the front layer because that’s where the elements like plants and the ground go. We can quickly see which part of the level an element is from by toggling the visibility of each layer (by clicking the 👁 icon). Layers are used to organize the different parts of our level neatly and set the order they are stacked.
Once you are done editing, at the top click on File > Save. Then click on File > Export As, then change the file type to JSON to save it as map1.json so that it can be imported easily in our code. You will need to do this each time you save your level to see the updates.
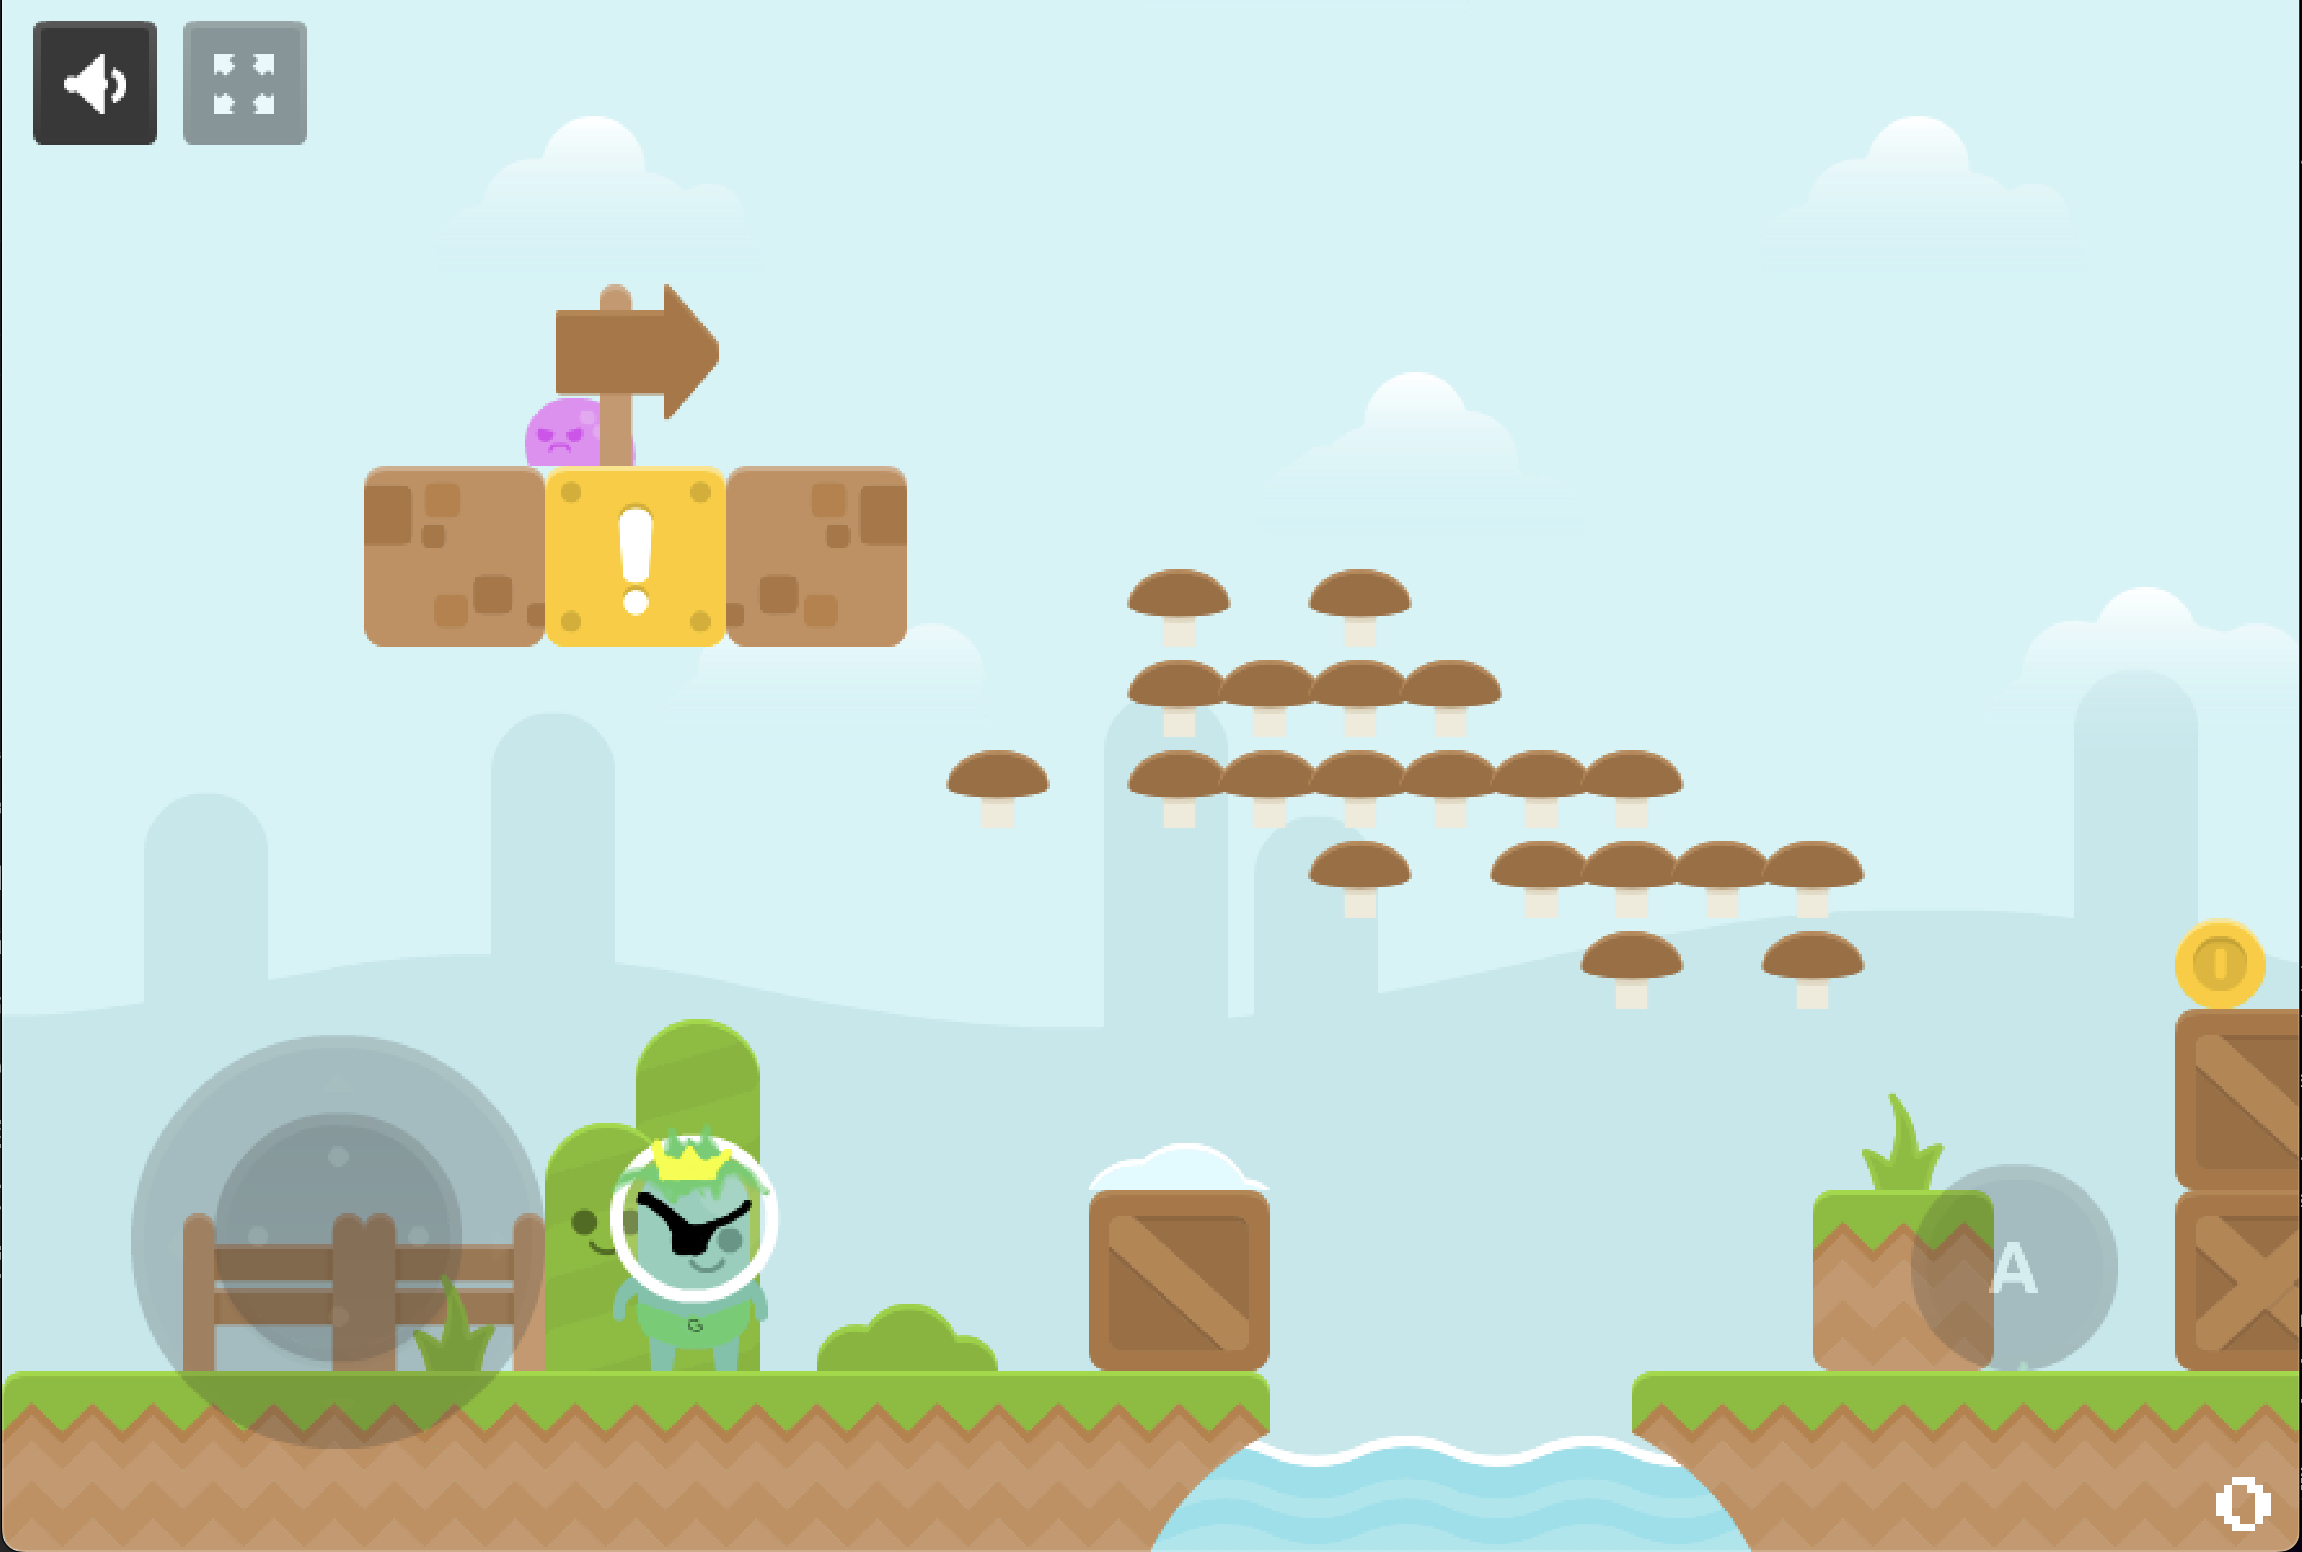
Now in the browser we can see that we have a custom character, and the sky is filled with mushrooms! Also we put a little bit of snow on the box.
You can learn more about the Tiled level editor here.
The solid black lines in the level represent the collisions (this means things the walls and the floors and boxes, anything you can’t walk through) You can learn more about how collisions are made here.